If you’re looking for a reliable and beginner-friendly control Electro Gaint Double Wiz Build to climb early ranks, this Electro Giant Double Wiz setup is exactly what you need. Built around Electro Giant, Electro Wizard, and Wizard, this comp uses strong frontline tanking with layered crowd control and burn damage to win fights — even against higher-star enemies consistently.
The core idea is simple: stall the enemy with stuns and knockbacks, then let your Fire and Electric traits tick down their health over time. With trait synergies like Electric, Fire, Blaster, and Ranged, you can activate multiple bonuses quickly while using low-cost, easy-to-upgrade troops.
This build is perfect for climbing through Bronze and Silver ranks, and once you hit 20 elixir, you’ll often find most of your core troops uncontested in shop — making upgrades smooth and fast.
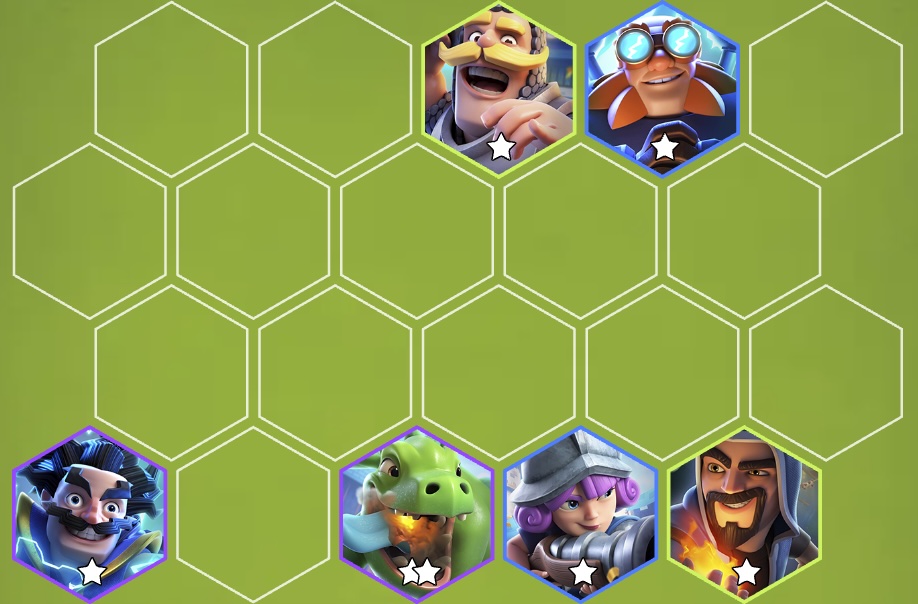
Electro Gaint Double Wiz Build

Rounds 1–2: Stabilize and Bank
- Shop rule: If I see Musketeer or Electro Wizard, I buy one immediately; otherwise I take Knight for a safe front.
- Economy: I merge cheap Goblins only to clear bench and hit early 2★ on Knight or a backliner. I don’t force Fire yet unless Wizard/Baby Dragon shows together.
- Positioning: Knight center front; a single backliner diagonally behind. If it’s Musketeer, I keep her second row so she survives and still knocks back.
Goal leaving Round 2: 6–10 elixir banked, a tank on board, and either Musketeer or E‑Wizard already down.
Round 3: Form the Spine
- I hard‑look for Electro Giant. If he appears, I lock him front‑center immediately.
- I want two of these three on board now: E‑Giant, Musketeer, Electro Wizard. If Wizard or Baby Dragon also shows, I buy one to start Fire.
- If the lobby feels swarmy (Witch, Skeletons), I’ll grab Executioner as my Blaster bridge even before Baby Dragon.
Micro: If the enemy opens with pushy frontlines (P.E.K.K.A, Prince), I put Musketeer behind E‑Giant so her knockback funnels targets into his zap aura.
Round 4: Turn on Synergies
- I complete Electric (E‑Giant + E‑Wizard) or Fire (Wizard + Baby Dragon) — whichever is closer.
- I push first 2★: usually Wizard or Baby Dragon; they convert CC into kills.
- If my front still feels soft, I 2★ Knight rather than chasing a greedy backline star.
Positioning check:
- E‑Giant front mid; Knight front off‑lane.
- Wizard and Baby Dragon on opposite halves so one bomb never hits both.
- E‑Wizard middle‑back, not stacked on Wizard.
- Musketeer on a corner or second row; I face her toward the densest lane so her knockback peels threat.
Rounds 5–6: Spike and Snowball
- I decide my carry path:
- If Fire copies are flowing: push Wizard 3★, then Baby Dragon 2–3★.
- If CC is high‑rolling: push Musketeer 2–3★ and E‑Wizard 2★ to perma‑lock fights.
- If I’m one copy off E‑Giant 2★, I take it; otherwise I never sink economy trying to 3★ him.
- If Fire stalls (Wizard stuck at 1★), I insert Executioner and keep Blaster active until Fire arrives.
Sell discipline: If a unit sits at 1★ for two rounds and blocks a 2★ on another, I sell it and reroll. This build wins on fast 2★ breakpoints.
Positioning I Actually Use
- Vs Assassins / Bandit: Split backline corners: Musketeer bottom‑left, Wizard top‑right, Baby Dragon opposite of Wizard. Knight body‑blocks the most exposed corner. E‑Giant stays center to catch dives with zap.
- Vs Undead / Witch: I stack Wizard and E‑Wizard on the same half so zap + burn instantly clears summons; Baby Dragon takes the other half to chase leaks.
- Vs Ranger stacks: Spread three tiles apart in the back; Musketeer sits second row, not hard cornered, to avoid opening sniper lines.
- Vs Executioner / cone AoE: Zig‑zag the backline; never place Wizard and E‑Wizard on the same column.
Leveling Priority
- Wizard → 2★ asap, 3★ if you’re 1–2 copies away.
- Musketeer → 2★ is a huge control jump; 3★ if she’s rolling.
- Electro Wizard → get to 2★ for reliable chain.
- Electro Giant → 2★ when convenient; don’t chase 3★ unless free.
- Baby Dragon → 2★ when Fire is online.
- Knight → take stars the shop gives you; don’t force.
- Executioner (flex) → upgrade only if you commit to Blaster splash.
Matchup
Undead Swarm (Witch + Giant Skeleton):
I keep Musketeer aimed at GS’s lane to punt the bomb away from my carry. Wizard stays two tiles off the musketeer line; E‑Wizard center to double‑zap re‑spawns. I roll for Wizard/Baby Dragon stars before anything else.
Clan / Assassin Pressure:
I front‑load Knight with E‑Giant and shift Musketeer to the shorter lane so her gun interrupts charges quicker. If dives still get through, I add Executioner (line cleave) and spread Wizard/E‑Wizard to different halves.
Rangers / Long Poke:
I rush Musketeer 2★ and E‑Wizard 2★, then tuck Wizard diagonally behind E‑Giant so cone opens safely. I never corner‑stack; I triangle the backline.
Fire Mirrors:
I widen even more and value E‑Wizard 2★ over greedy 3★s. If they clump, Executioner replaces Knight until I stabilize.
Mistakes I Stopped Making
- Over‑starring Electro Giant while Wizard sits 1★. You win with CC + burn, not a giga‑tank.
- Backline clumping. One cone or bomb deletes your win con.
- Holding dead 1★ units “just in case.” Sell, clear the bench, hit your first 2★ spike.